ASP.NET 코어 및 TypeScript 설치 (Install ASP.NET Core and TypeScript)
먼저 필요한 경우에는 ASP.NET Core를 설치합니다.이 퀵 스타트 가이드를 위해서는 Visual Studio 2015 또는 2017이 필요합니다.
다음으로 사용 중인 Visual Studio에 최신 TypeScript가 설치되지 않은 경우 여기서 설치할 수 있습니다.
새 프로젝트 만들기 (Create a new project)
- File 선택합니다
- New Project 선택합니다 (Ctrl + Shift + N)
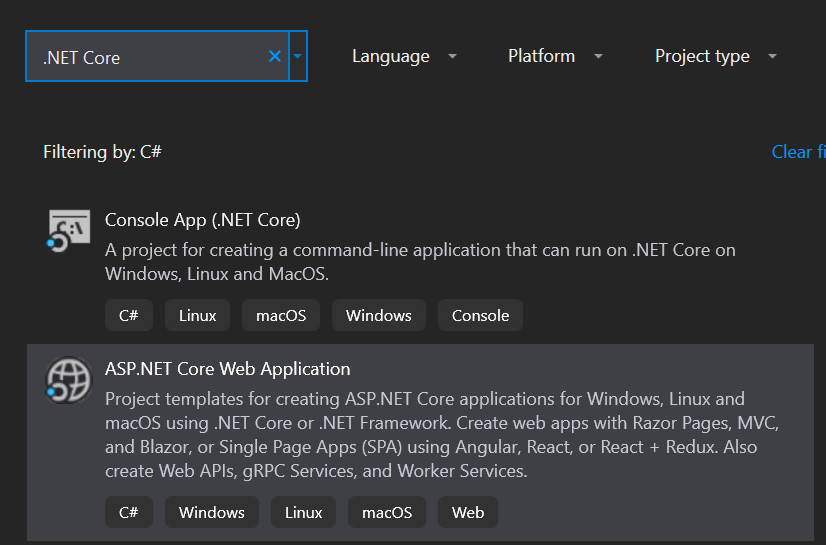
- 프로젝트 검색창에서 .NET Core를 찾습니다
- ASP.NET Core Web Application을 선택하고 Next 버튼을 누릅니다
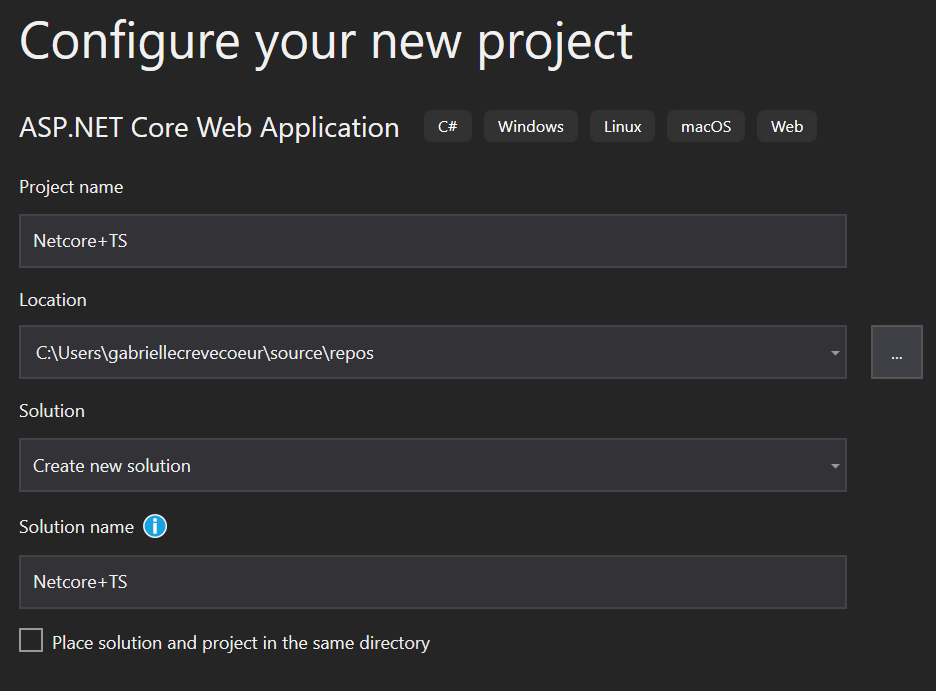
- 프로젝트명과 솔루션명을 정하고 Create 버튼을 누릅니다
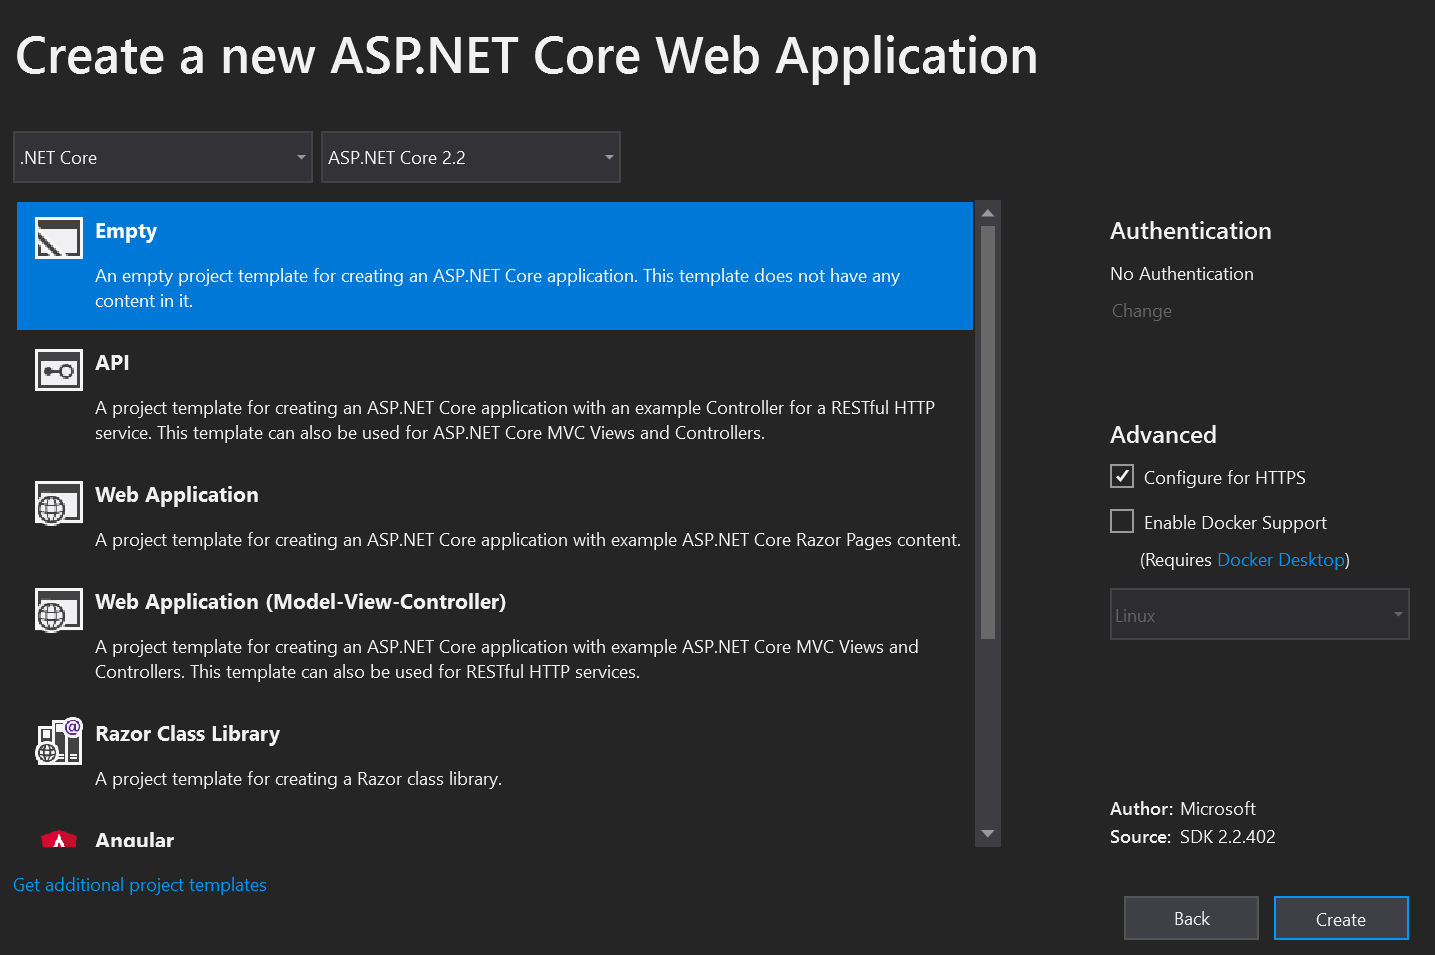
- 이전 창에서 Empty 템플릿 선택 후 Create 버튼을 누릅니다
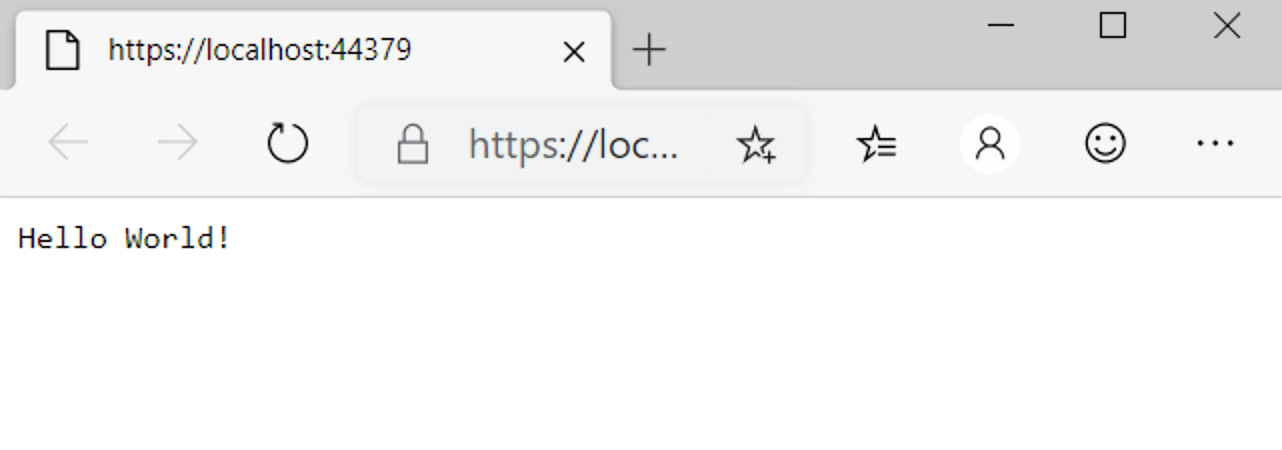
애플리케이션이 실행되는지 확인합니다
서버 설정 (Set up the server)
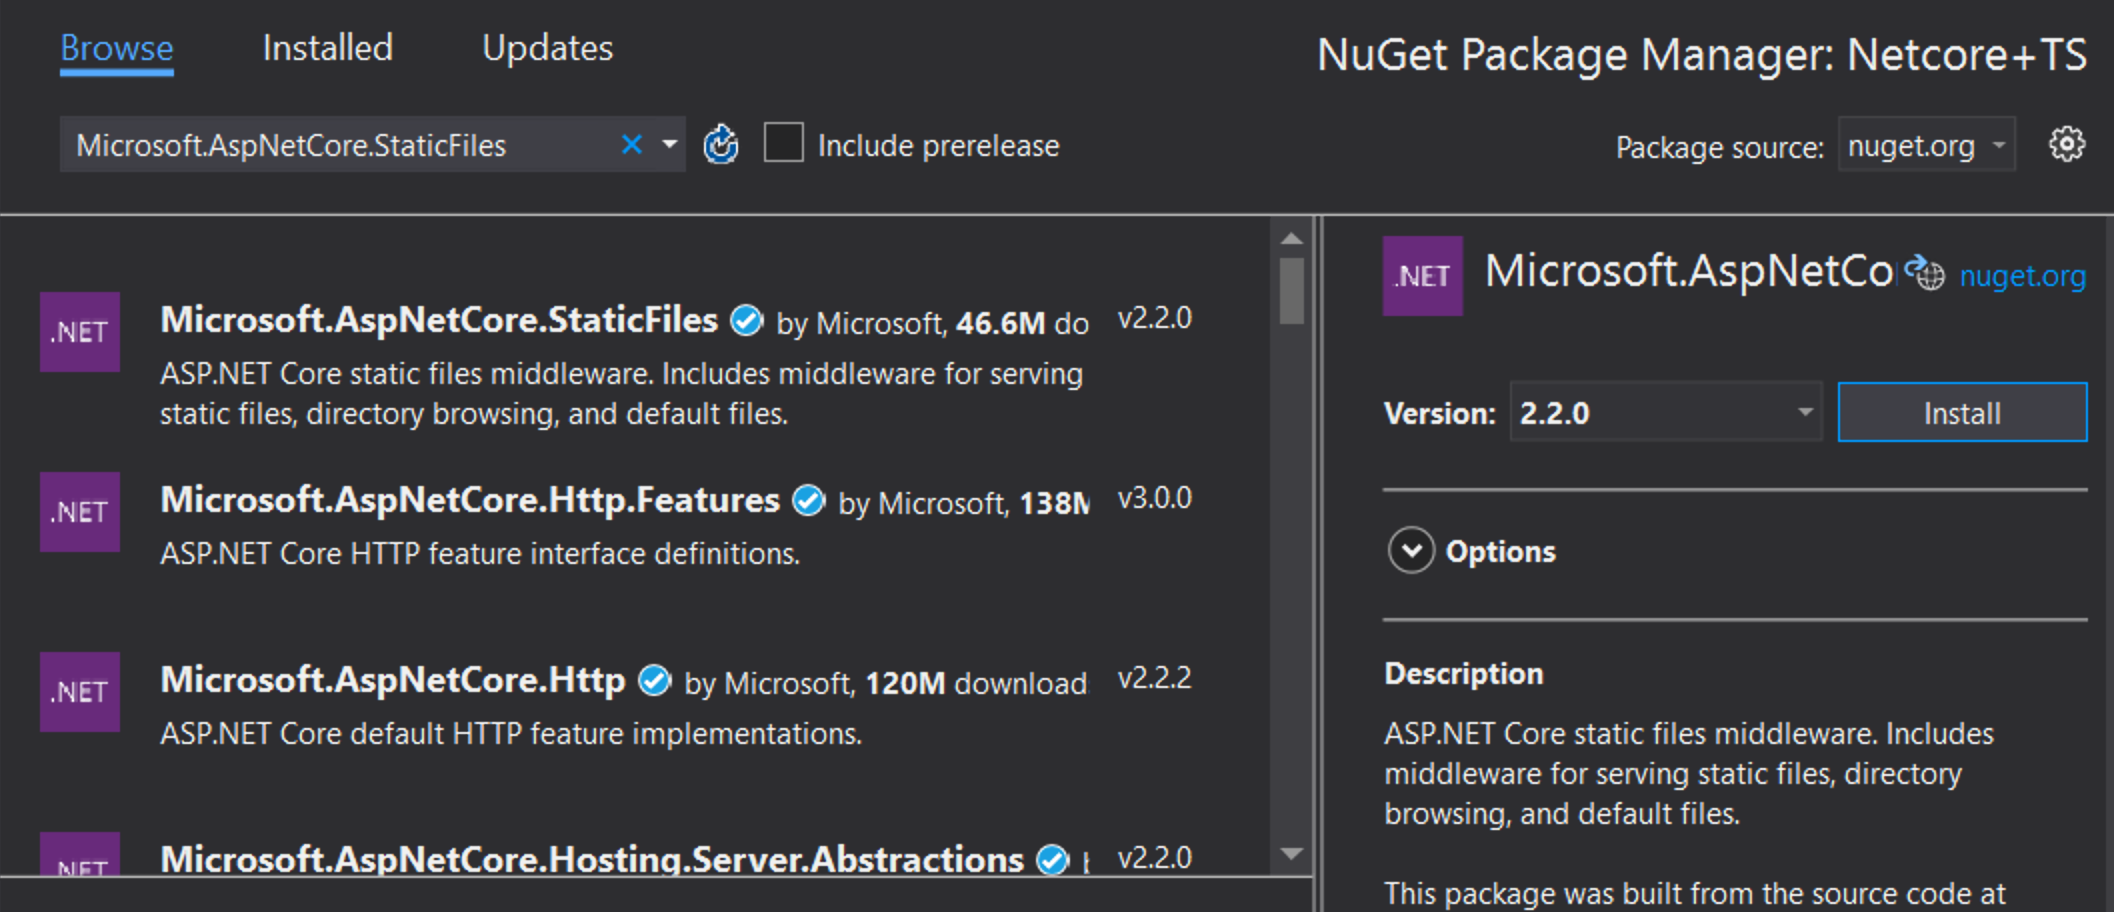
다음과 같이 들어가 Dependencies > Manage NuGet Packages > Browse. Microsoft.AspNetCore.StaticFiles와 Microsoft.TypeScript.MSBuild를 검색하여 설치합니다:
Startup.cs 파일을 열고 Configure 함수를 다음과 같이 수정합니다:
public void Configure(IApplicationBuilder app, IHostingEnvironment env)
{
    if (env.IsDevelopment())
    {
        app.UseDeveloperExceptionPage();
    }

    app.UseDefaultFiles();
    app.UseStaticFiles();
}
UseDefaultFiles 와 UseStaticFiles 밑에 빨간 선이 보인다면 비주얼 스튜디오를 재실행합니다
타입스크립트 추가 (Add TypeScript)
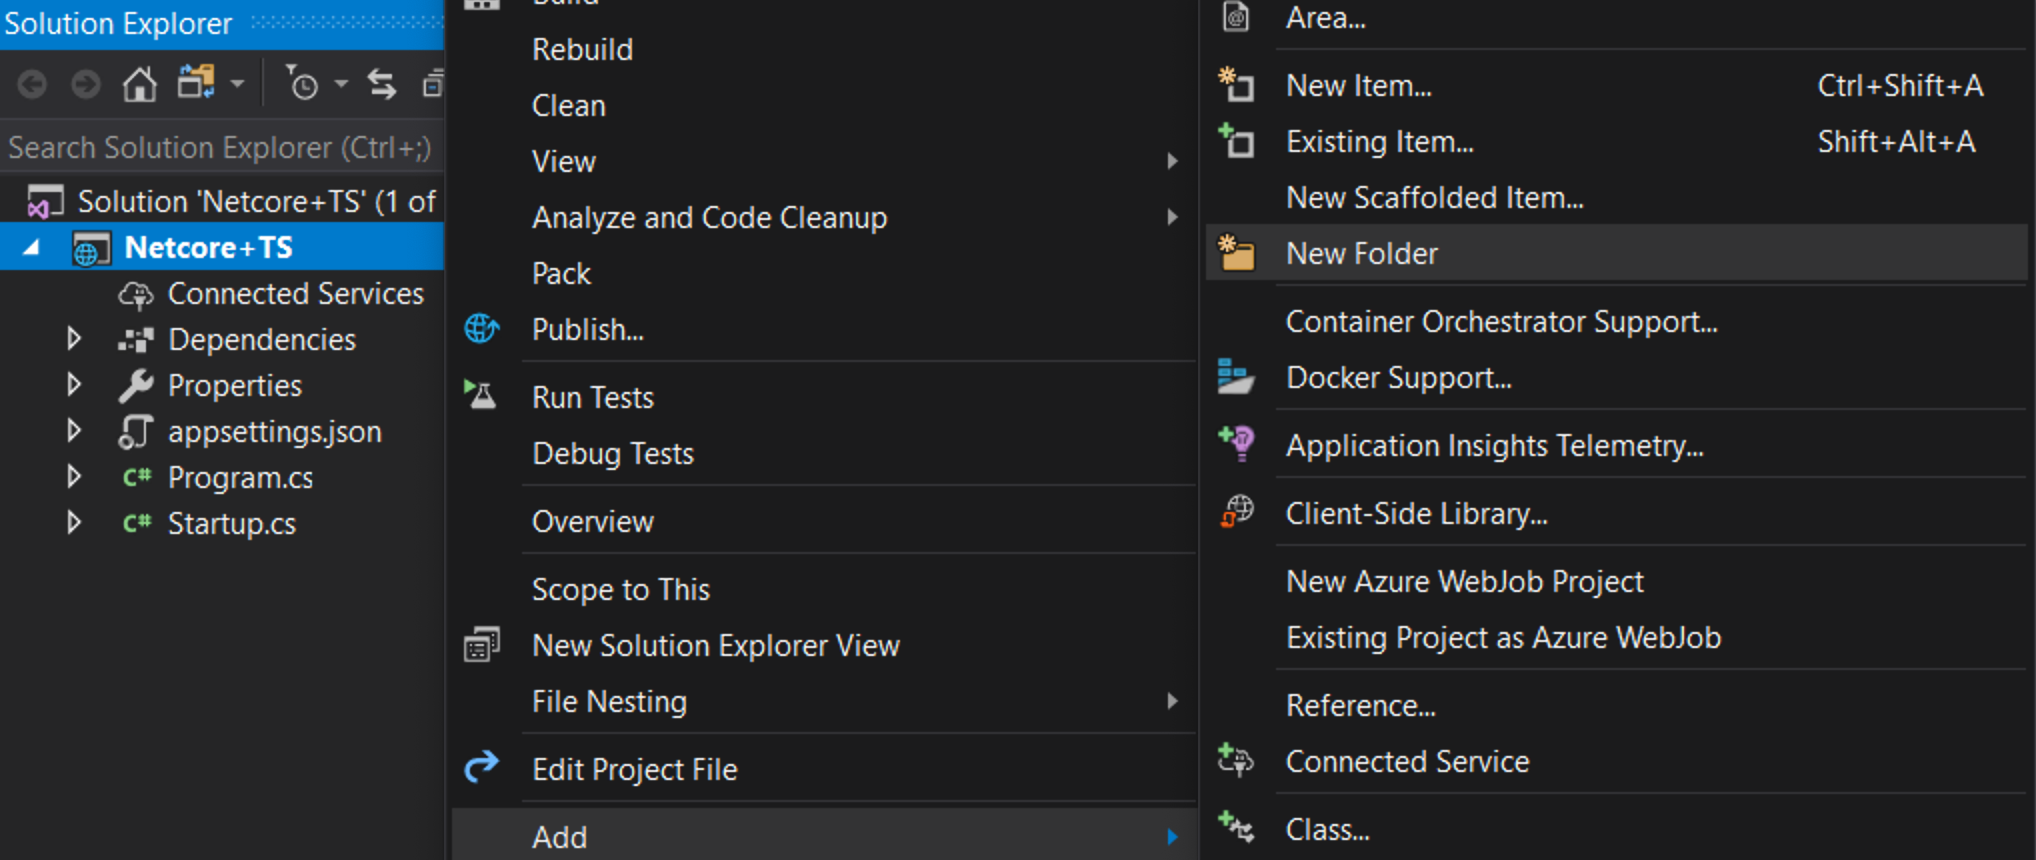
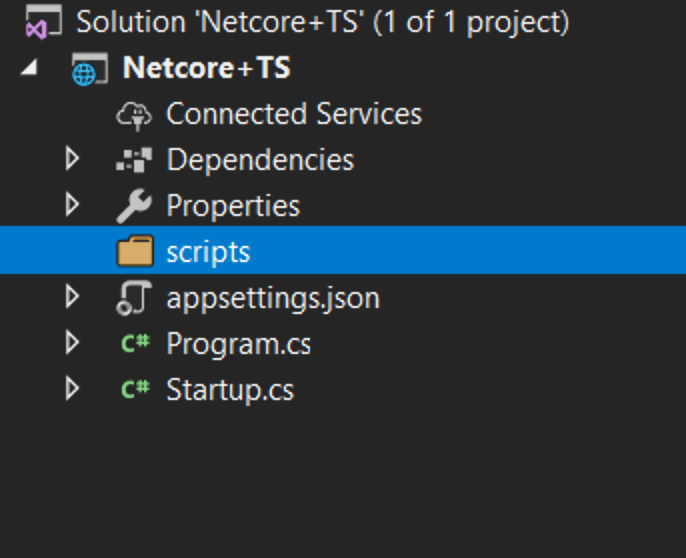
이제 새로운 폴더를 추가하고 scripts라고 이름을 지정합니다.
타입스크립트 코드 추가 (Add TypeScript code)
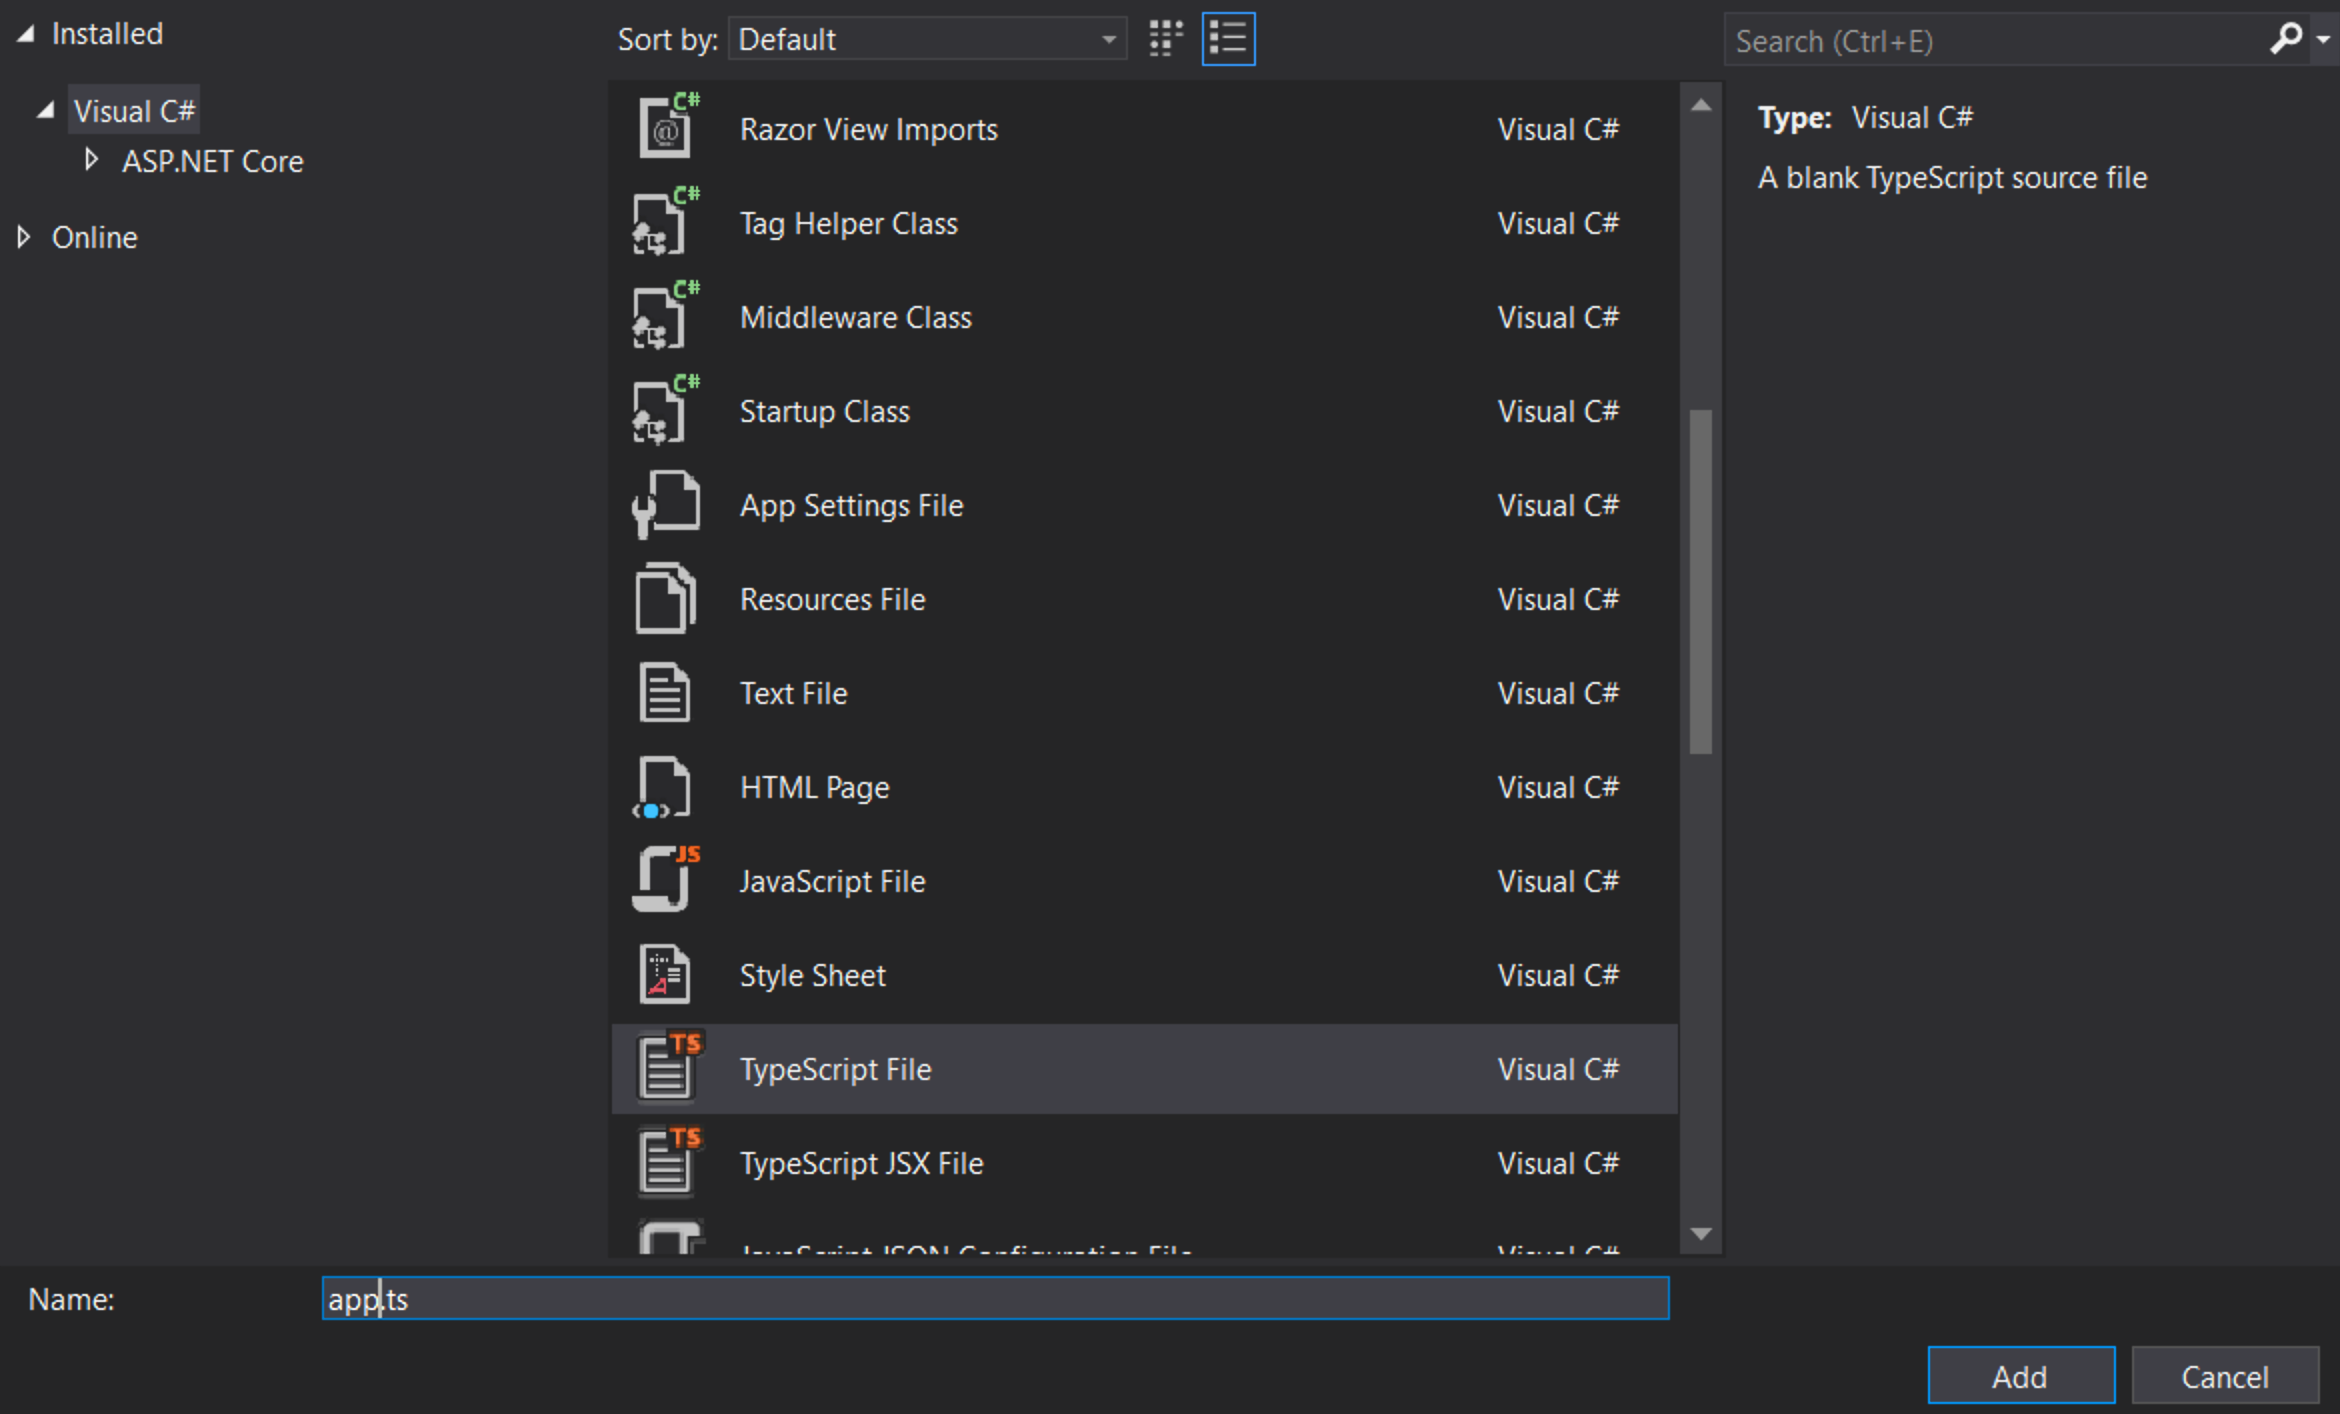
scripts를 마우스 오른쪽 버튼으로 클릭하고 New Item을 클릭합니다. 그런 다음 TypeScript File 을 선택하고 app.ts의 이름을 지정합니다.
예제 코드 추가 (Add example code)
app.ts에 다음 코드를 입력하십시오
ts
빌드 설정 (Set up the build)
TypeScript 컴파일러 설정
먼저 TypeScript에 빌드 방법을 알려줘야 합니다. scripts 폴더를 마우스 오른쪽 버튼으로 클릭하고 New Item을 클릭합니다. 그런 다음 TypeScript ConfigurationFile을 선택하고 기본 이름인 tsconfig.json을 사용합니다.
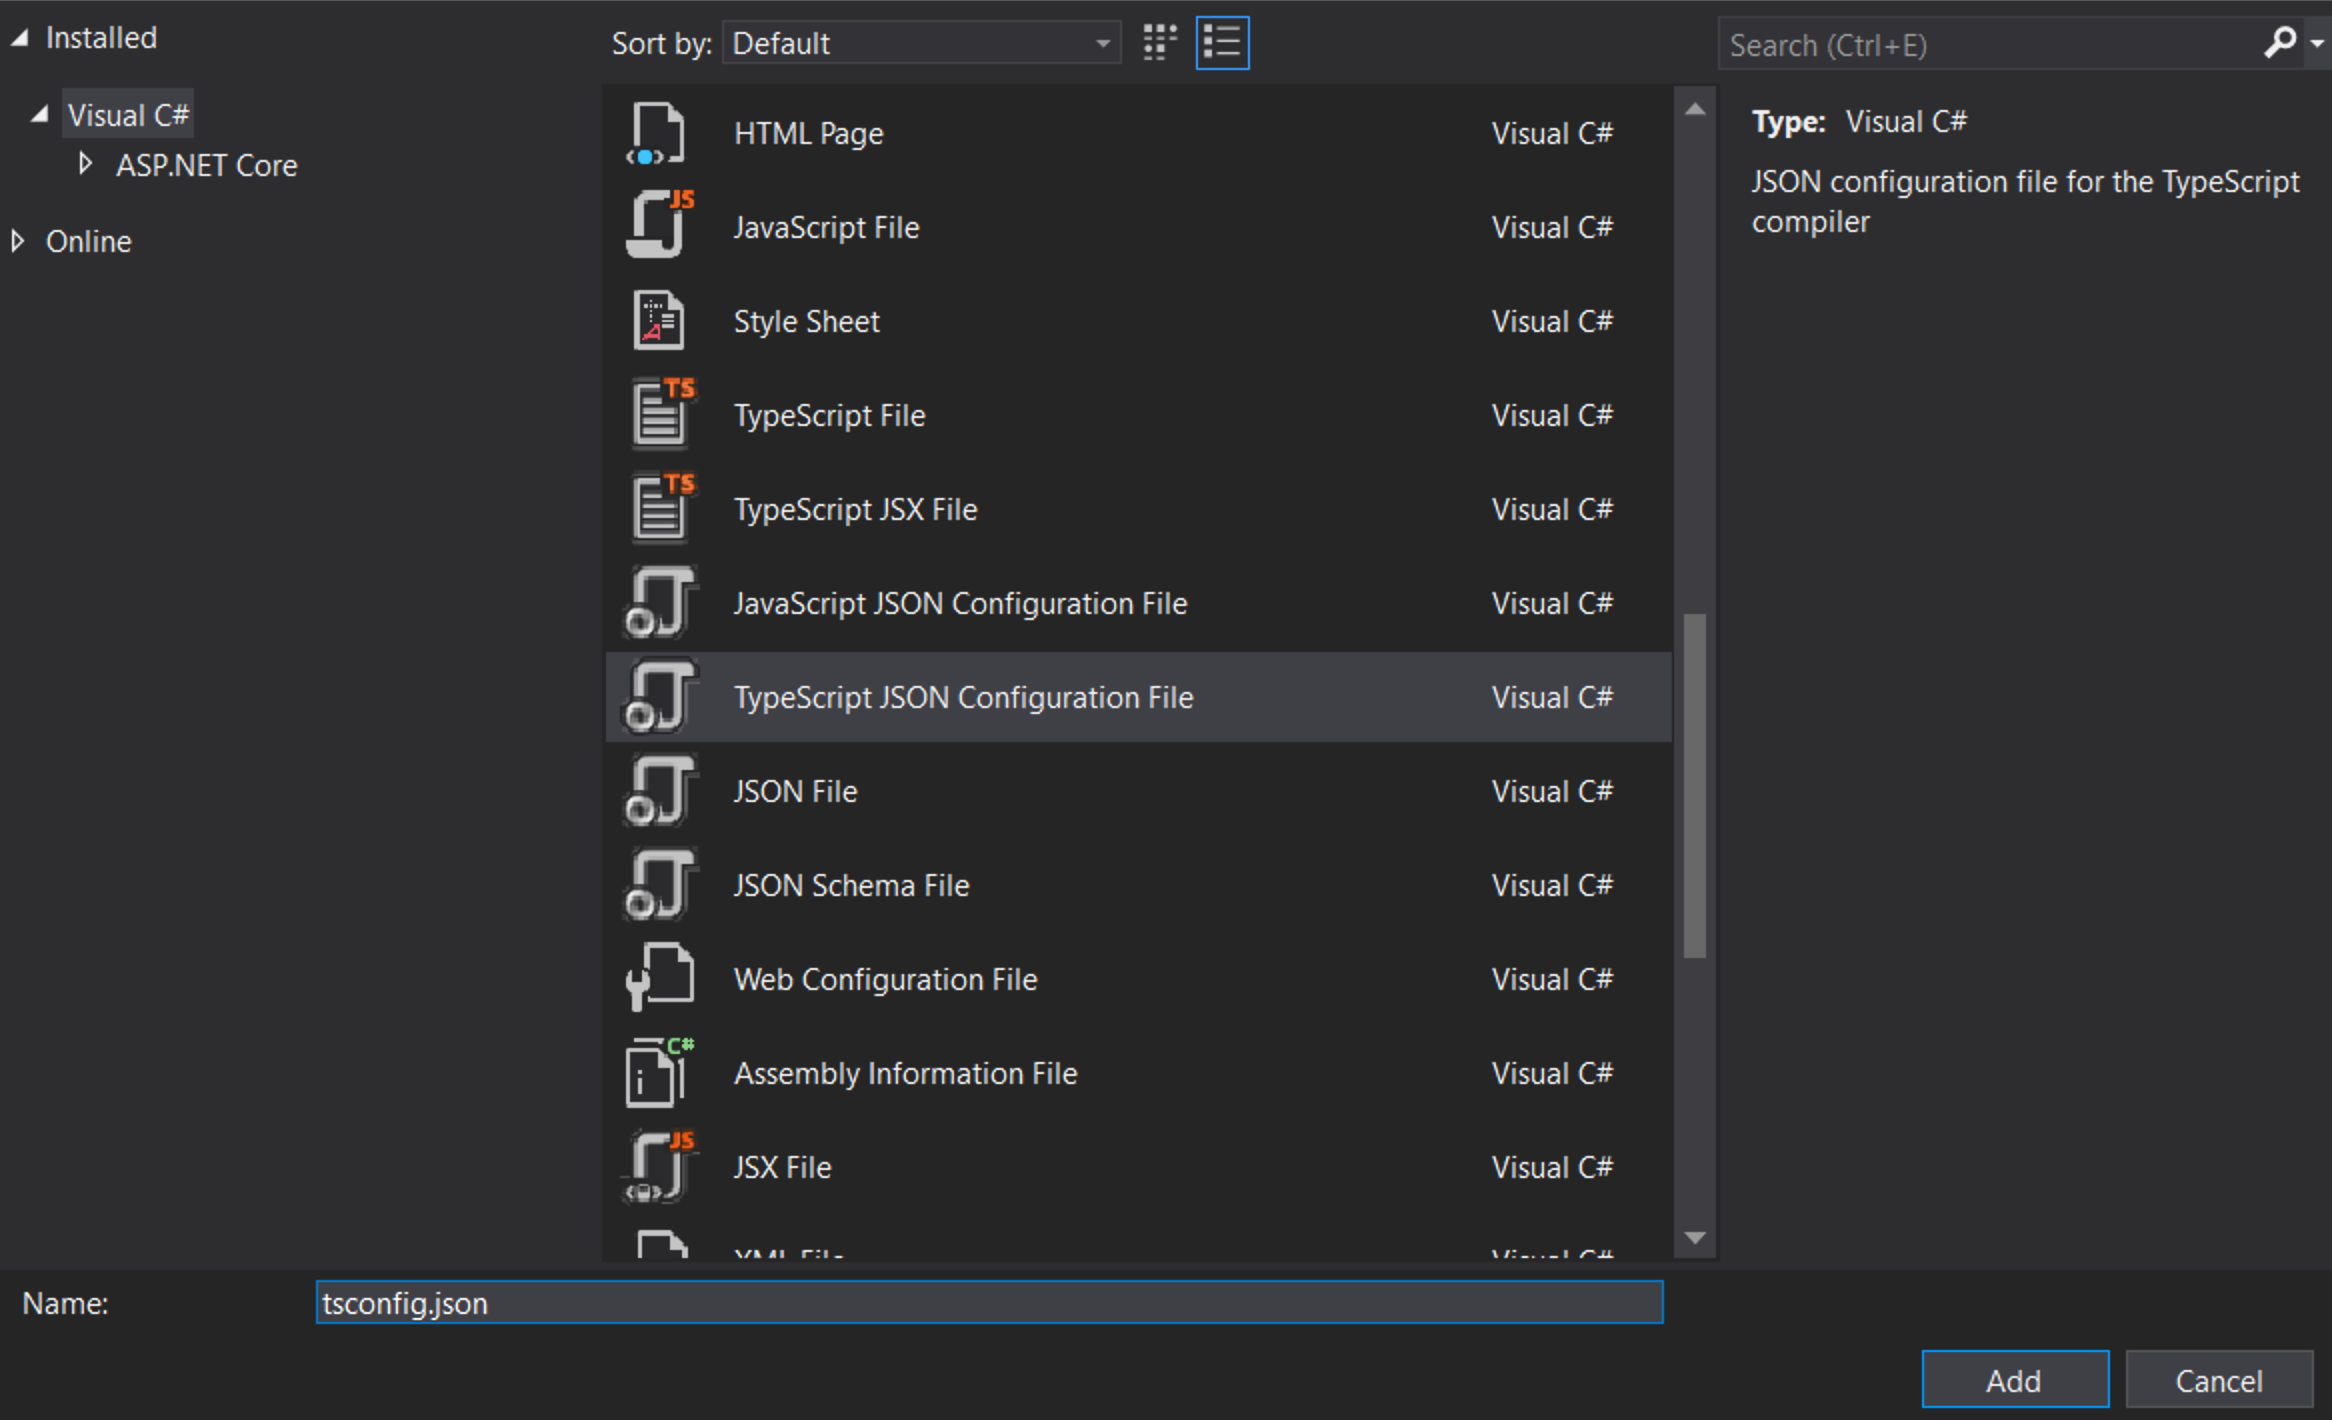
기본 tsconfig.json를 다음으로 대체합니다:
noEmitOnError: 오류 발생 시 아웃풋을 내보내지 않습니다.noImplicitAny: 표현과 선언에 암묵적으로any타입을 사용한 경우 오류가 발생합니다.sourceMap:.map파일 생성합니다.target: ECMAScript 타겟 버전을 명시합니다.
Note: "ESNext" 는 최신 버전을 지원합니다.
"noImplicitAny" 는 새로 코드를 짤 때마다 쓰면 좋습니다. 실수로 타입을 지정하지 않은 경우를 방지할 수 있습니다. "compileOnSave" 는 웹 앱 실행 중에 코드를 쉽게 변경할 수 있도록 합니다.
NPM 설정
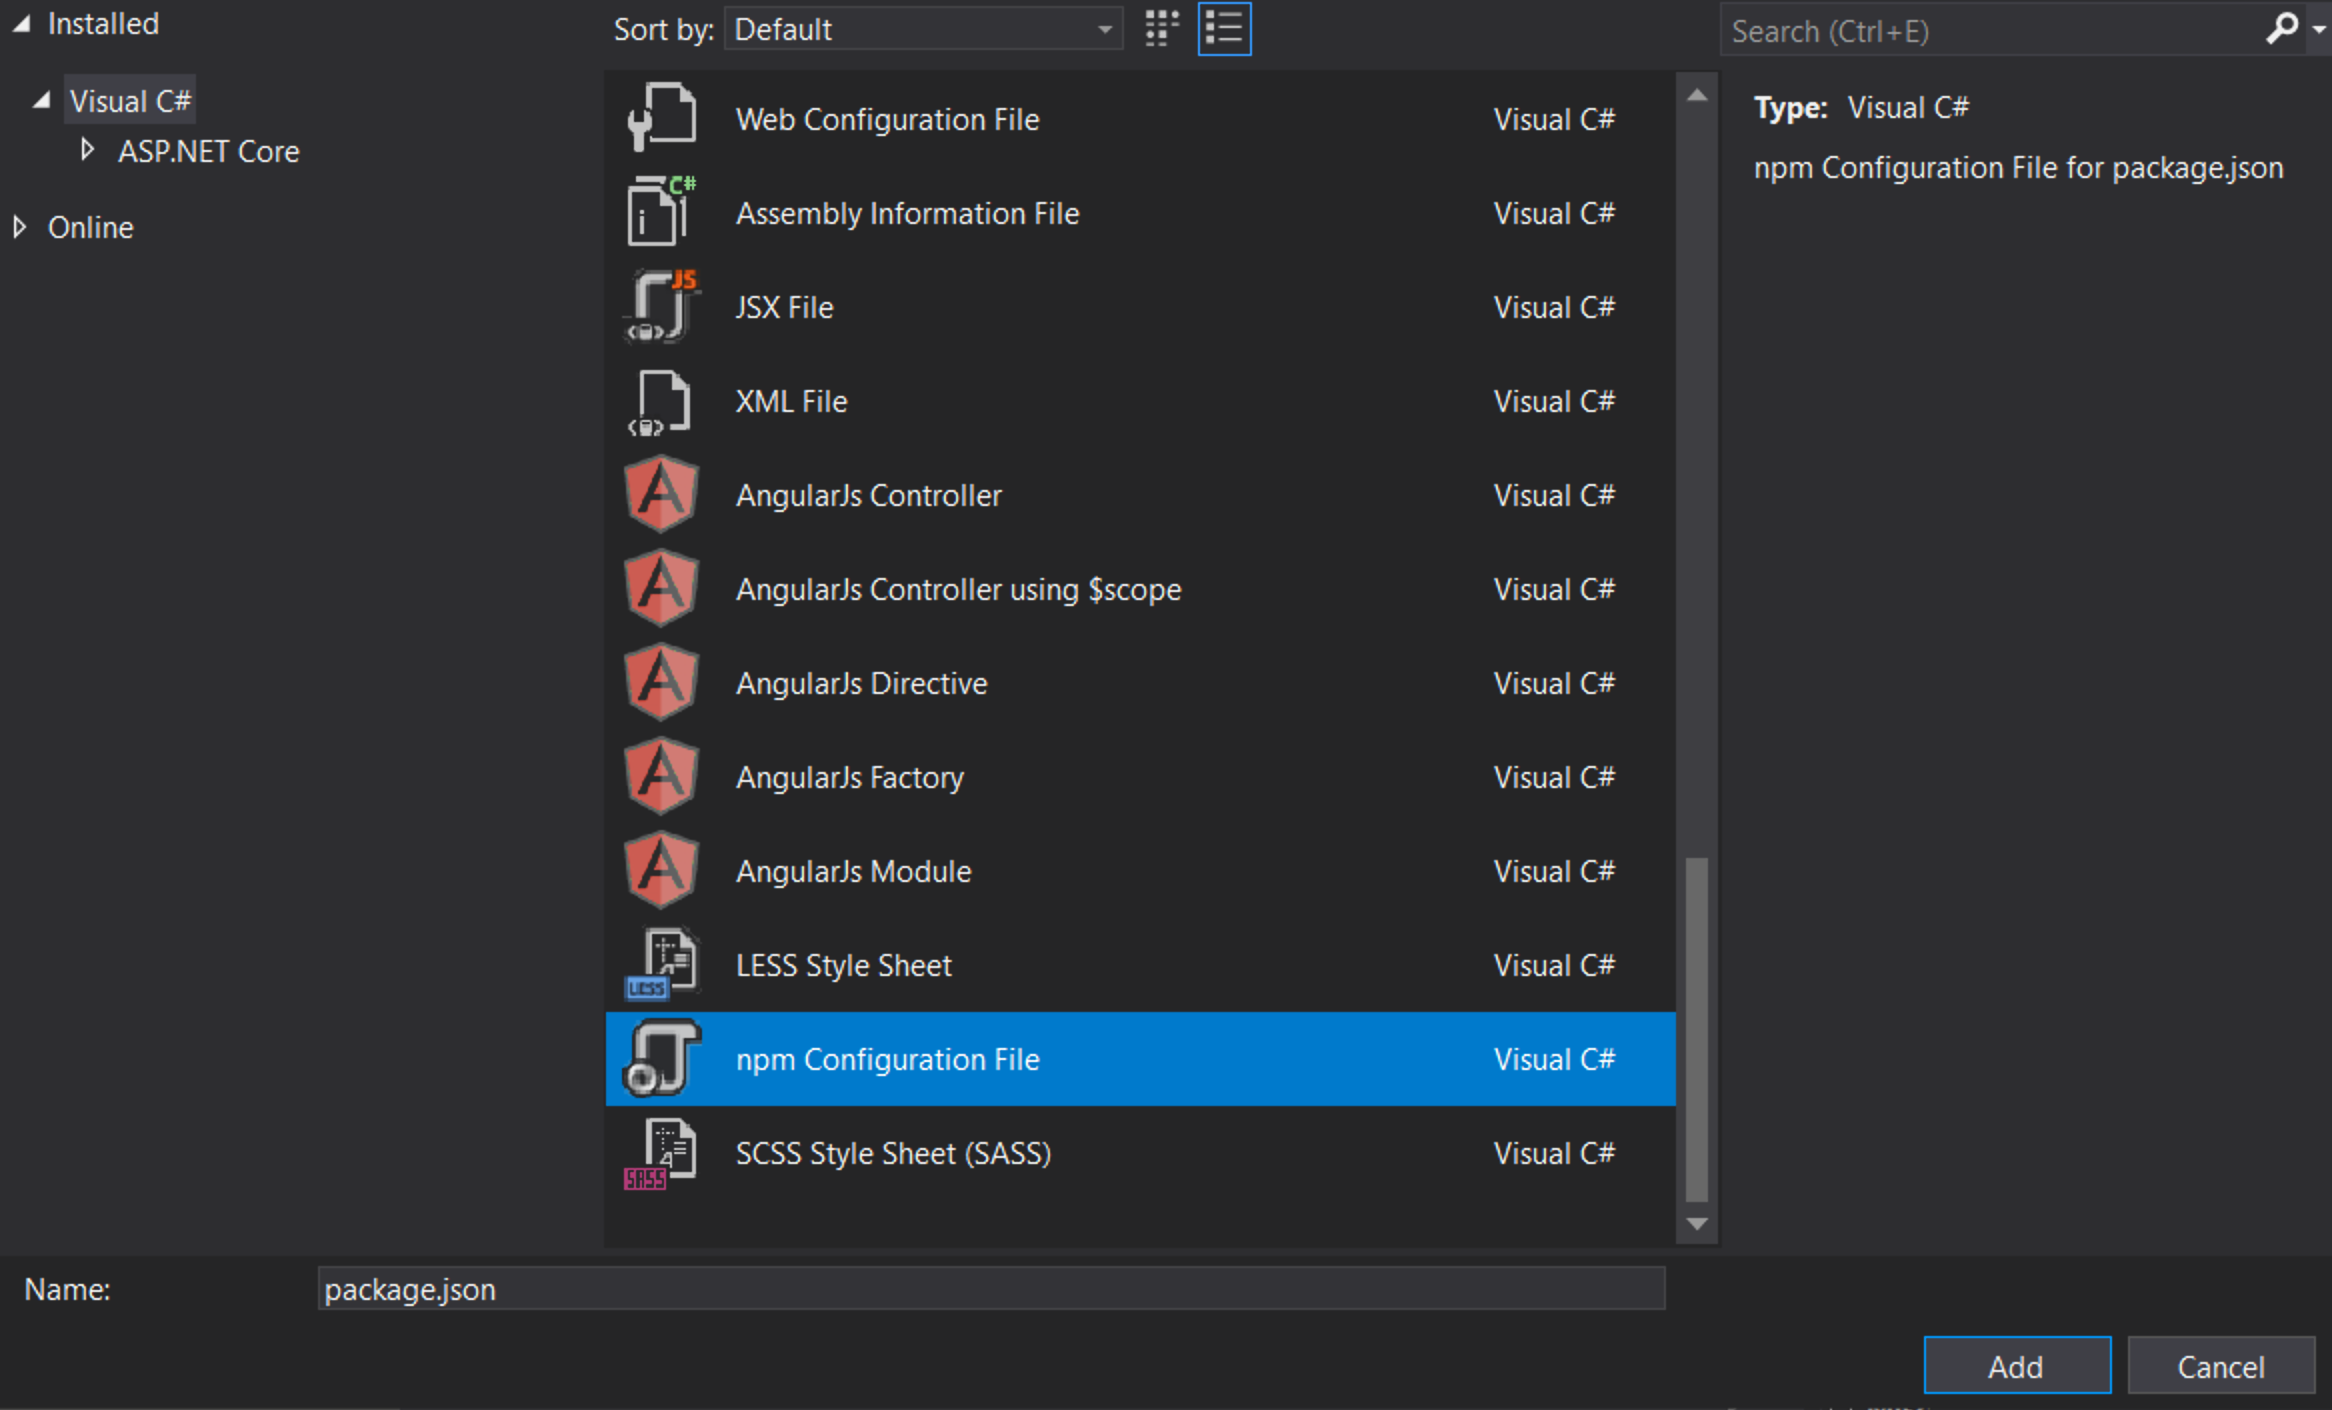
이제 JavaScript 패키지를 다운로드할 수 있도록 NPM을 설정해야 합니다. 프로젝트를 마우스 오른쪽 버튼으로 누르고 New Item을 클릭합니다. 그런 다음 NPM Configuration File을 선택하고 기본 이름 package.json을 사용합니다.
package.json 파일의 "devDependencies"에 gulp 와 del을 추가합니다
Visual Studio는 파일을 저장하는 즉시 gulp 및 del 설치를 시작해야 합니다. 그렇지 않은 경우 package.json을 마우스 오른쪽 버튼으로 누르고 Restore Packages를 클릭합니다.
솔루션 익스플로러에 npm 폴더가 생긴 것을 확인할 수 있습니다.

gulp 설정
프로젝트를 마우스 오른쪽 클릭을 하고 New Item 클릭합니다. JavaScript File를 선택한 다음 gulpfile.js라는 이름을 사용합니다.
js
첫 번째 줄은 Visual Studio에게 빌드가 끝난 후에 작업을 ‘default’로 실행하도록 지시합니다. Visual Studio에 빌드를 정리하도록 요청하면 ‘clean’작업도 실행됩니다.
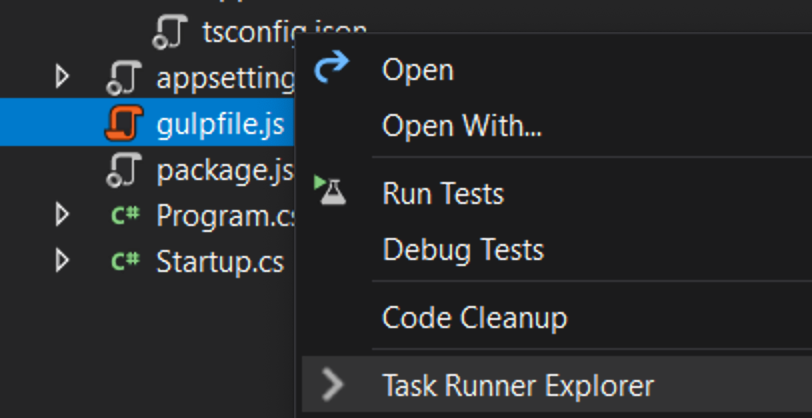
이제 gulpfile.js를 마우스 오른쪽 버튼으로 클릭하고 Task Runner Explorer를 클릭합니다.
‘default’ 및 ‘clean’작업이 표시되지 않으면 탐색기를 새로고침 합니다 :

HTML 페이지 작성 (Write an HTML page)
wwwroot 폴더를 마우스 오른쪽 클릭하고 (만약 폴더가 보이지 않는다면 프로젝트를 빌드합니다) 새로운 파일을 추가하고 index.html로 이름을 지정합니다. index.html 에 다음 코드를 추가합니다
테스트 (Test)
- 프로젝트를 실행하십시오.
- 입력 상자에 입력할 때 메시지가 표시됩니다 :
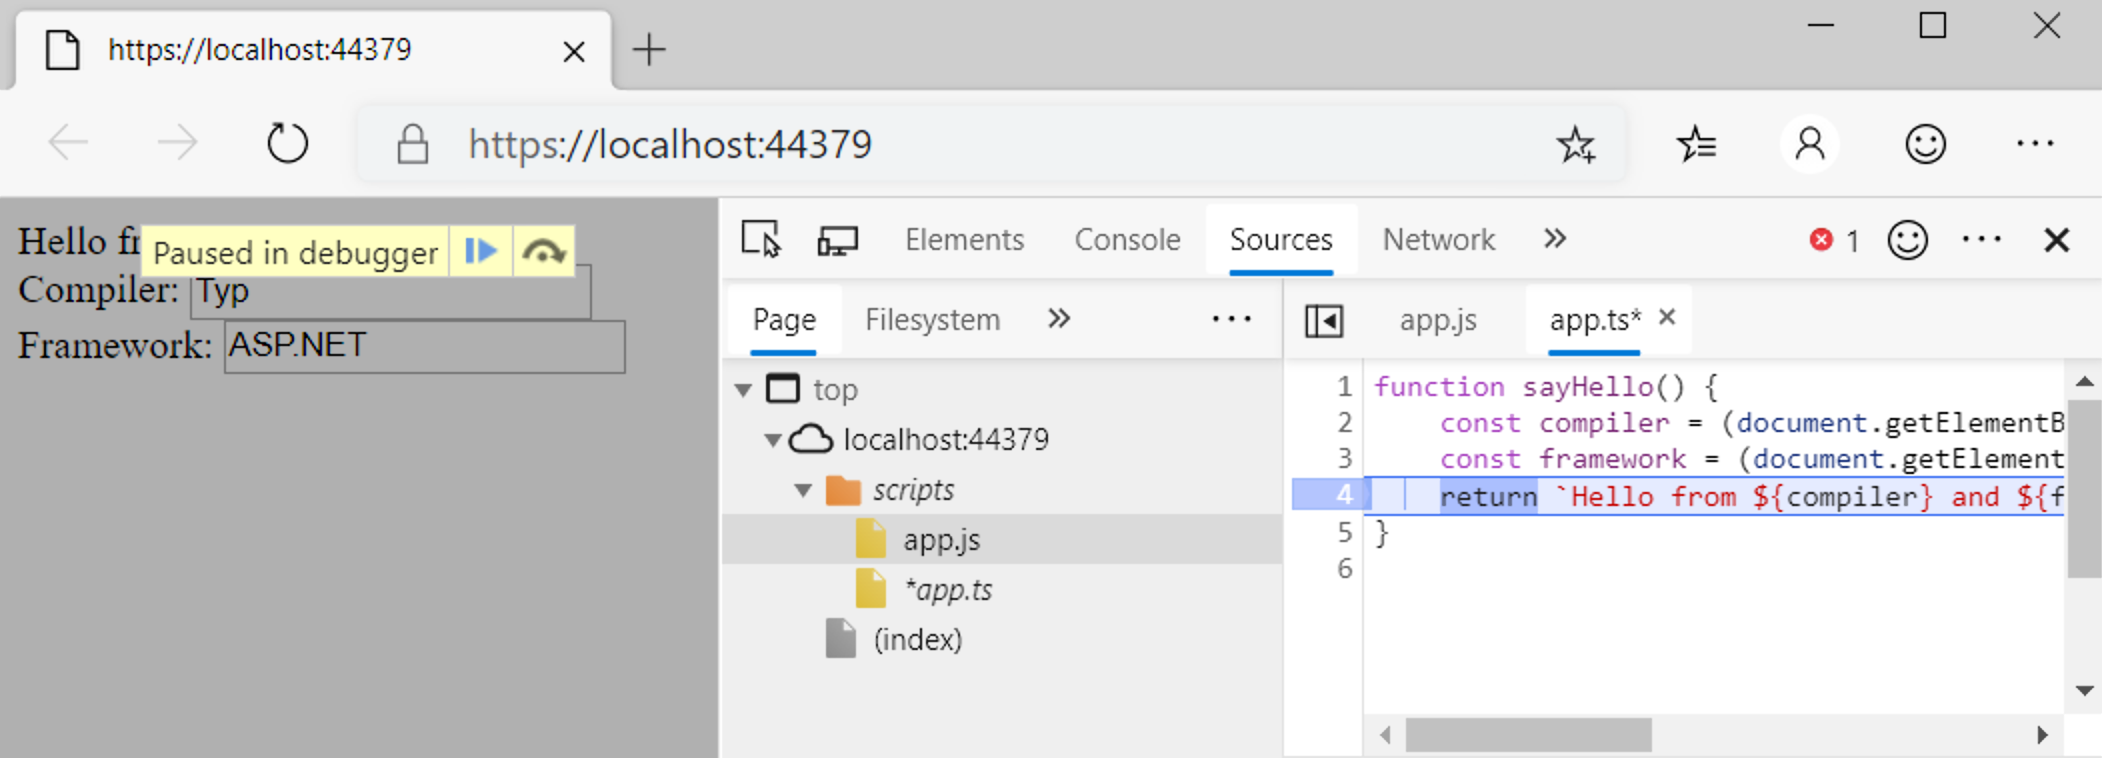
디버그 (Debug)
- Edge에서 F12 키를 누르고 Debugger 탭을 클릭하십시오.
- 첫 번째 localhost 폴더를 찾은 다음 scripts/app.ts를 찾습니다.
- return 라인이 있는 라인에 breakpoint를 설정합니다
- Type 상자에 내용을 입력하고 breakpoint가 TypeScript 코드에 들어가고 검사가 올바르게 작동하는지 확인합니다.
TypeScript를 사용한 당신의 첫 .NET 코어 프로젝트 생성을 축하합니다.


